Homemade Battenberg Cake
Homemade Battenberg Cake: A Slice of History
If you’re looking for a show-stopping dessert that combines beauty and taste, look no further than the Homemade Battenberg Cake.
This traditional British cake is not only a feast for the eyes but also has a fascinating history that dates back to the 19th century.
| Prep time | Cook Time | Rest Time | Total Time |
|---|---|---|---|
| 25 min | 30 min | 20 min | 75 min |
The Battenberg
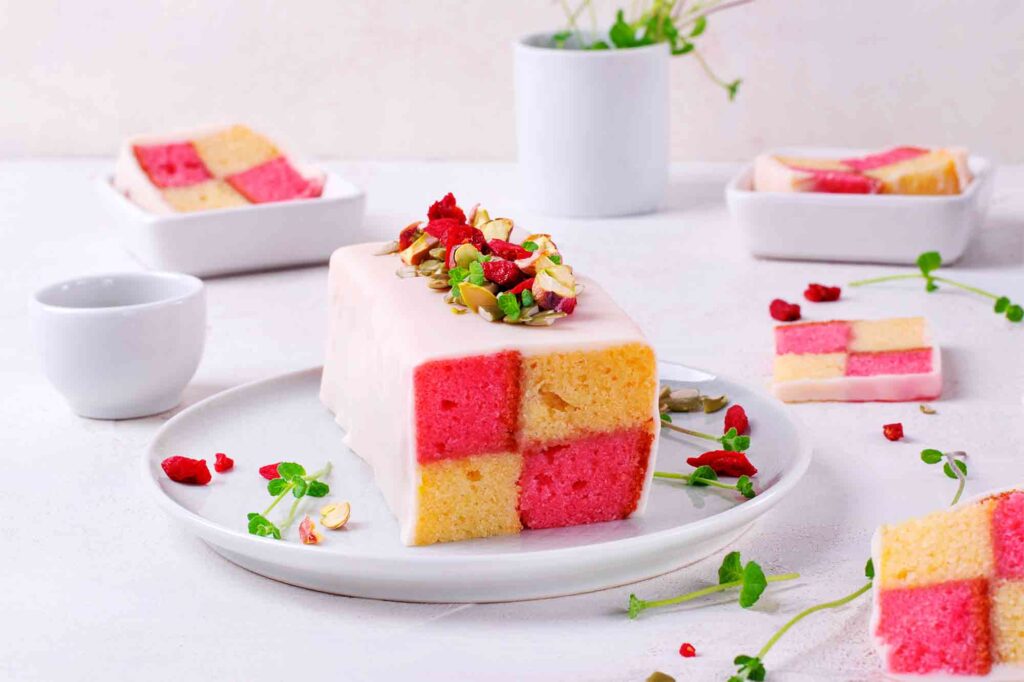
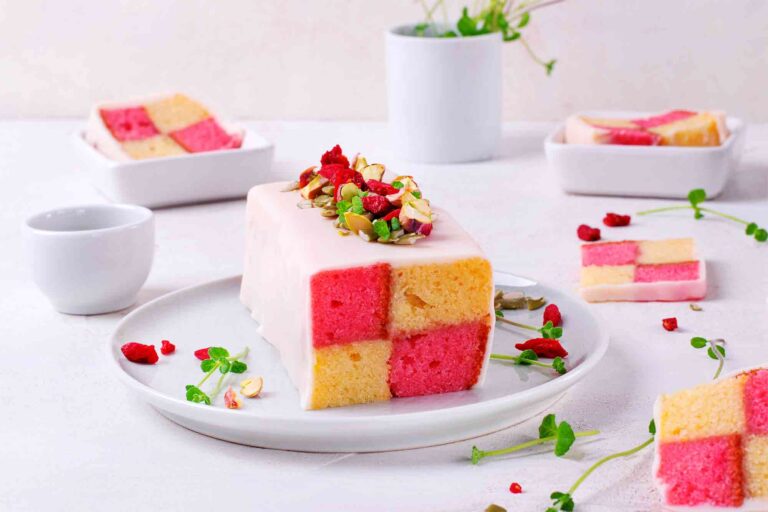
Cake is said to have been created to celebrate the marriage of Princess Victoria of Hesse to Prince Louis of Battenberg in 1884. The cake’s unique checkerboard pattern is reminiscent of the family’s heritage, showcasing a beautiful blend of flavors and colors.
Originally, the cake was covered in a layer of marzipan, adding a delightful sweetness that complements the light sponge perfectly.
Making a Homemade Battenberg Cake is a fun and rewarding project. The classic version features alternating pink and yellow sponge layers, typically flavored with vanilla and almond.
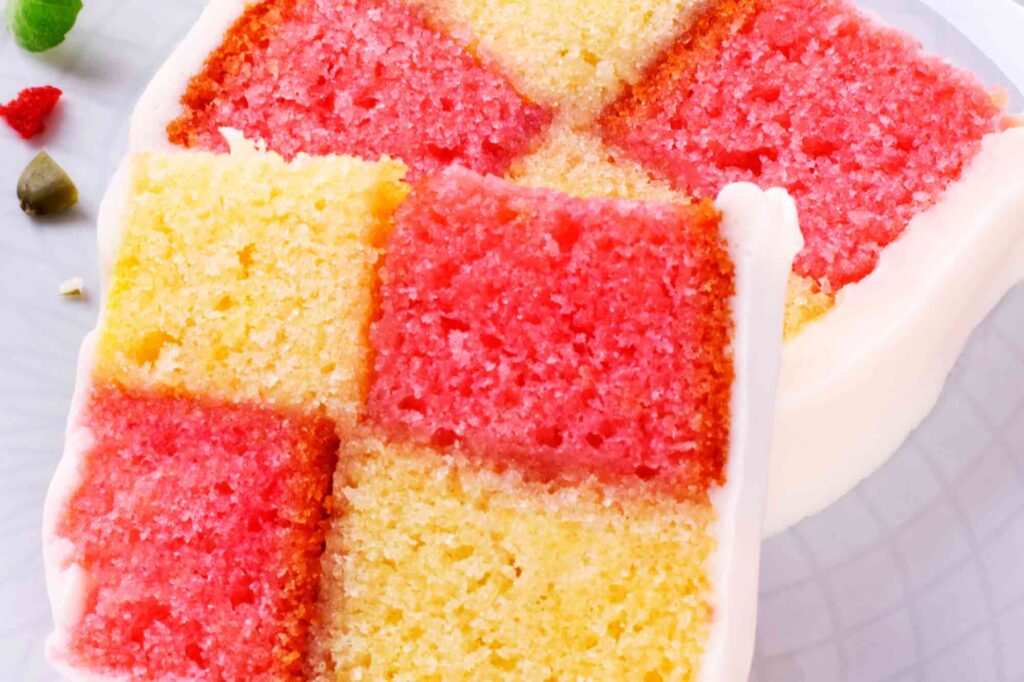
The cake is not only visually appealing but also incredibly versatile; you can play with flavors and colors to make it your own.
The process of baking and assembling this cake is a delightful way to spend an afternoon.
It’s a wonderful treat for special occasions like birthdays, weddings, or afternoon tea. Plus, serving a slice of this beautifully crafted cake is sure to impress your guests and spark conversations about its royal origins.
So why not
roll up your sleeves and try your hand at this charming dessert? With each slice, you’ll enjoy not just the taste but also a piece of history that has been enjoyed for generations.
Your Homemade Battenberg Cake will not only satisfy your sweet tooth but also bring a touch of tradition to your table.
Ingredients
Instructions
Preheat
your oven to 180°C (350°F). Grease and line a square 20 cm (8-inch) cake tin with parchment paper.
Divide the tin in half using an extra strip of parchment.
In a large bowl, cream the butter and sugar until pale and fluffy.
Beat in the eggs, one at a time, ensuring each is fully incorporated before adding the next.
Stir in the vanilla extract.
Gently fold the self-raising flour, almond flour, and baking powder into the butter mixture.
Add milk to loosen the batter if needed.
Split the batter evenly into two bowls. In one bowl, add a few drops of red food coloring and mix until evenly pink.
Spoon each batter into its own half of the tin, smoothing the surface.
Bake for 25-30 minutes, or until a skewer inserted comes out clean.
Allow the cakes to cool in the tin for 10 minutes before transferring them to a wire rack to cool completely.
Cut and Assemble
Once cooled, trim the edges of both cakes for a neat finish.
Cut each cake lengthwise into two even strips, resulting in 2 pink and 2 yellow strips.
Glue with Jam
Heat the apricot jam and brush along the sides of each cake strip.Assemble the cake by placing one pink strip next to one yellow strip, then placing the remaining strips on top in a checkerboard pattern.
Use the apricot jam to “glue” the strips together.
Roll out the marzipan into a large rectangle (about 0.5 cm thick) on a surface lightly dusted with icing sugar.
Brush the outside of the assembled cake with more apricot jam, then wrap the marzipan around the cake, pressing it gently to seal the edges and ends.
Trim any excess marzipan.
Score the top of the cake lightly for decoration, if desired.
Slice and serve.Enjoy, Good Appetite!

