Homemade Carpati Cake
Homemade Carpati Cake Recipe – Delicious and irresistible
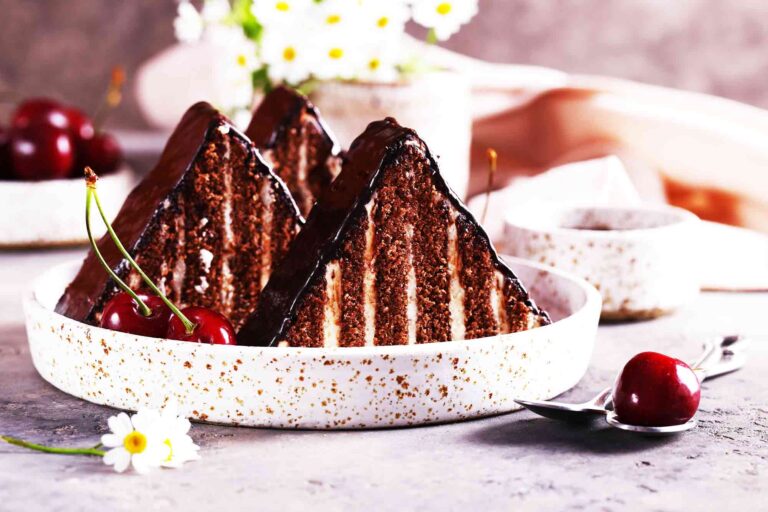
If you’re looking to impress your friends and family with a stunning dessert, the Homemade Carpati Cake is a fantastic choice. This beautiful layered cake resembles the majestic Carpathian Mountains, echoing the name it carries.
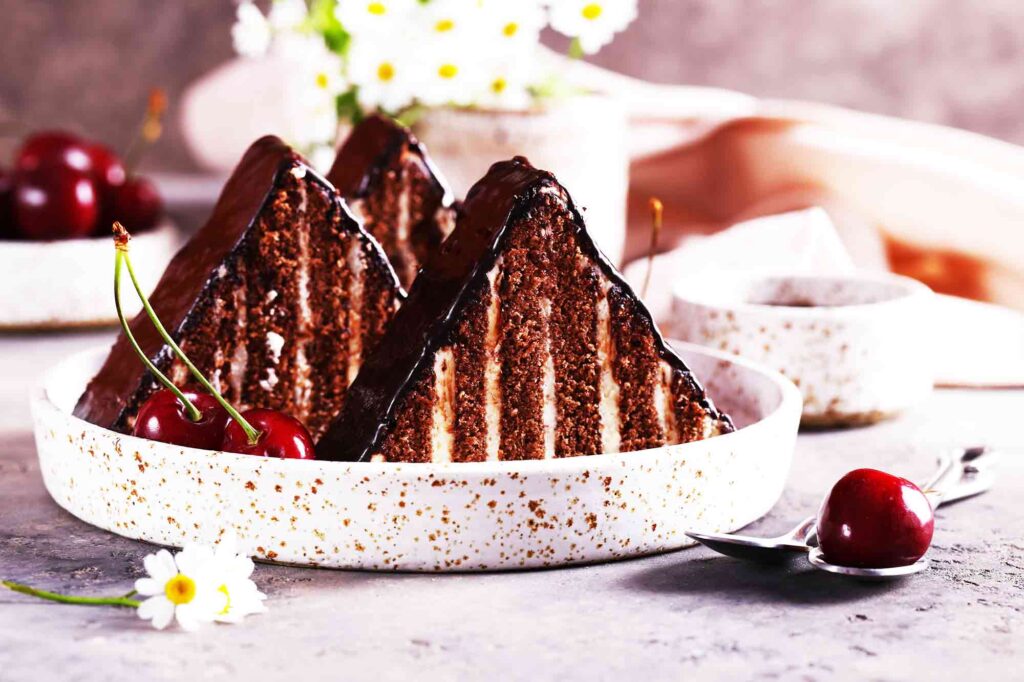
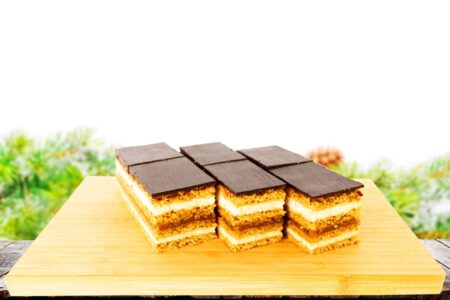
While the traditional Carpati Cake features a light white dough and rich chocolate buttercream, this modern version showcases delicious chocolate layers paired with a smooth white buttercream.
| Prep time | Cook Time | Rest Time | Total Time |
|---|---|---|---|
| 30 min | 50 min | 60 min | 140 min |
The origins
of the traditional Carpati Cake can be traced back to Romanian celebrations. Typically served at weddings, birthdays, and festive gatherings, this cake embodies the spirit of togetherness and hospitality that is central to Romanian culture.
Its name pays homage to the Carpathian Mountains, a symbol of beauty and resilience in the region. The original version, with its delicate layers, has been cherished by generations, making it a beloved classic.
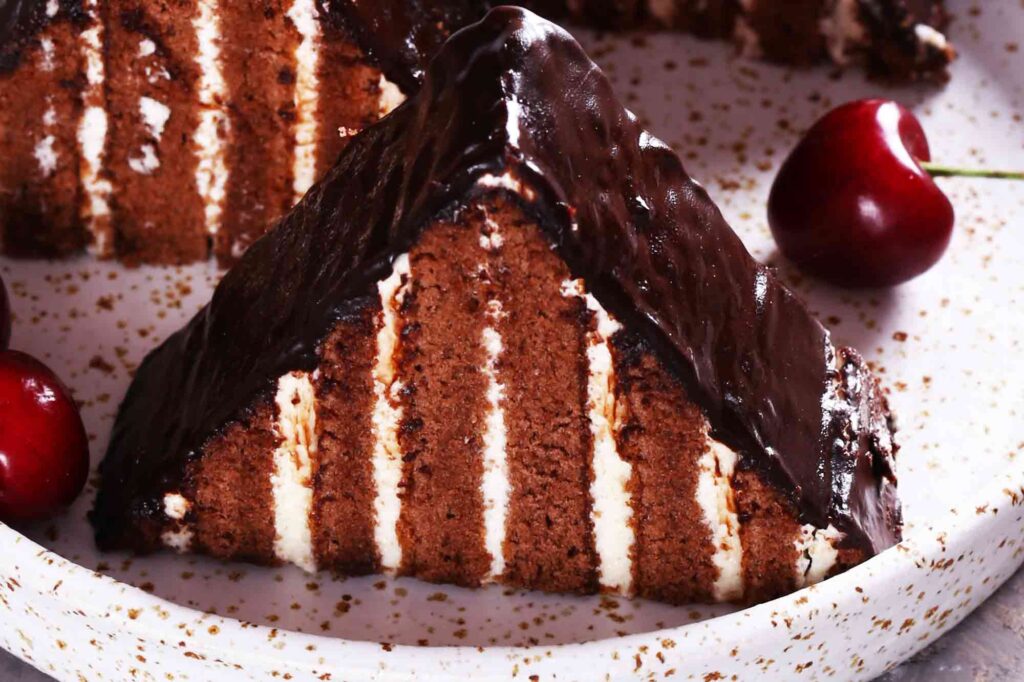
This homemade
variation is just as delightful, offering a rich flavor profile with its chocolate layers and creamy filling. Each slice reveals a stunning contrast between the dark chocolate and the white buttercream, making it a feast for the eyes and the palate.
Whether you’re celebrating a special occasion or simply indulging in a sweet treat, the Homemade Carpati Cake is sure to be a hit. It’s a perfect way to bring a touch of Romanian heritage to your table while also exploring new flavors and combinations.
Ingredients
For the Chocolate Cake Layers
For the Buttercream
For the Chocolate Ganache
Instructions
Prepare the Chocolate Cake Layers
Preheat your oven to 180°C (350°F).
In a large mixing bowl, combine the softened butter and the granulated sugar.
Use an electric mixer to beat them together on medium speed until the mixture is light and fluffy, about 3-4 minutes.Add 2 large eggs, one at a time, mixing well after each addition.
Then, add the vanilla extract and mix until combined.In a separate bowl, sift together the all-purpose flour, the unsweetened cocoa powder, and baking powder.
This will help aerate the flour and ensure even mixing.Gradually add the dry mixture to the wet mixture, alternating with the milk.
Start and end with the dry ingredients, mixing just until no streaks remain.
Be careful not to overmix.Divide the batter into five equal portions.
Spread each portion onto a parchment-lined baking tray to form thin rectangular sheets.
Bake in the preheated oven for about 10-12 minutes or until a toothpick inserted in the center comes out clean.
Let the layers cool completely in the pan.Prepare the Buttercream Filling
In a clean bowl, beat the softened butter with an electric mixer on medium speed until creamy, about 2-3 minutes.
Gradually add the powdered sugar, mixing on low speed to prevent a sugar cloud.
Once combined, increase the speed and mix for an additional 3-4 minutes until light and fluffy.Add the vanilla extract and milk.
Mix well until the buttercream reaches a smooth and spreadable consistency.
If the buttercream is too thick, add a little more milk; if too thin, add more powdered sugar.Assemble the Cake
Once the chocolate layers have cooled, place one layer on a serving platter.
Spread an even layer of the white buttercream over the top, using a spatula to ensure an even coating.Repeat this process with the remaining layers, stacking them neatly.
Once all layers are stacked, use a small offset spatula to apply a thin layer of buttercream around the sides to crumb coat the cake, sealing in any loose crumbs.
Chill the cake in the refrigerator for 30 minutes to set the buttercream.Shape the Cake
Create Triangular Shape
Using a sharp knife, cut the stacked layers diagonally from one corner to the opposite corner to form two triangular sections.
Carefully flip one triangular piece on top of the other to create a peak-like shape.
Use a spatula to smooth the edges if necessary.Prepare the Chocolate Ganache
In a heatproof bowl over a double boiler, melt the dark chocolate and butter together until smooth.
Gradually stir in the double cream until the ganache is glossy and pourable.
Remove from heat and let it cool slightly until it thickens a little.Place the triangular cake on a wire rack set over a baking sheet.
Pour the ganache over the top of the cake, allowing it to flow down the sides.Use a spatula to help guide the ganache and ensure an even coat.
Allow the ganache to set for about 30 minutes at room temperature.
Place in the fridge for 30 minutes.
Garnish with fresh cherries or your choice of fruit on top for an extra touch of color and flavor.
Enjoy, Good Appetite!

